Installation for students with Windows
-
If you've used EndNote before, delete your old EndNote version. Choose Control Panel / Remove program. NOTE: Do not delete your library and it's connected data folder if you want to continue using this library.
-
Close down all Office programs: Word, Excel, Power Point, Outlook, etc.
-
Open https://sw.sdu.dk and log in with your SDU login (same as for itslearning).
-
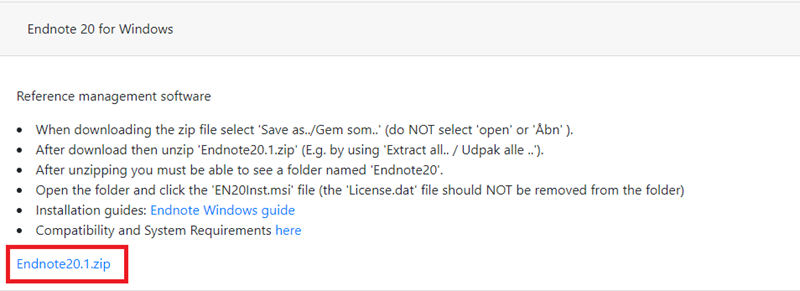
Select Endnote 20 for Windows.
-
Download the file Endnote X20.1.zip.
-
The zip file is now downloaded to your computer in the Downloadfolder.
-
NOTE! This is a zip-file, so before you can install the program, the file must be 'extracted'. It will not work just to press 'open file'. Follow the next instructions:
-
Open your Downloads folder.
-
Select the downloaded file (so that it becomes light blue).
-
Right-click the file.
-
Select Extract All.
-
Then select Unpack.
-
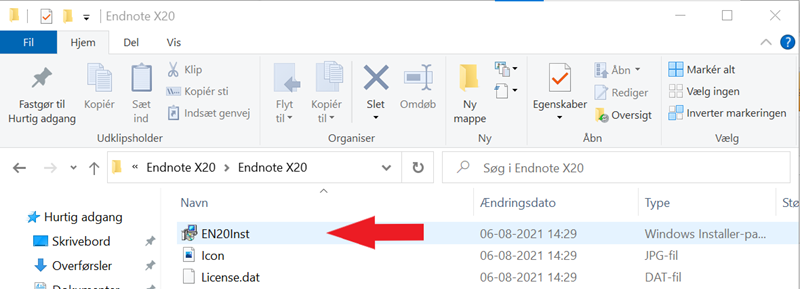
Now open the "Endnote X20" folder.
-
Then double-click the installation file "EN20Inst."
-
Installation will begin.
-
Press: Next, Accept, Next, choose "I accept the license agreement" - and choose "Typical", Next, Next and Next.
-
If you still have Office programs open, you will be notified to close them so that the installation can be completed.
-
After the program is installed, you can delete the zip-file and extracted files in the Downloads folder.
-
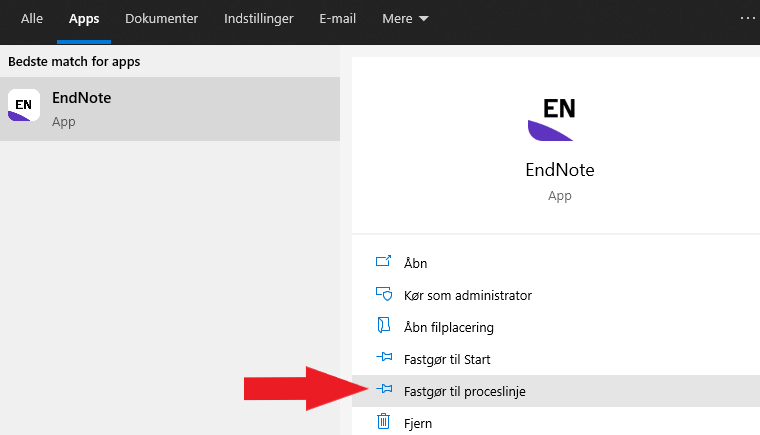
Now you can find EndNote as an 'app' on your computer. Search the application through the SEARCH tool in the lower left. You can recognize the program by the EndNote icon and it says App below. You can right-click the icon in your search and select Pin to taskbar so that EndNote is always ready to use in the the bottom of your screen.
-
Open the EndNote program.
-
Download and install any updates if they show up. In this case, you will need to open EndNote again.
-
Choose "I accept the license agreement" and press Next:
-
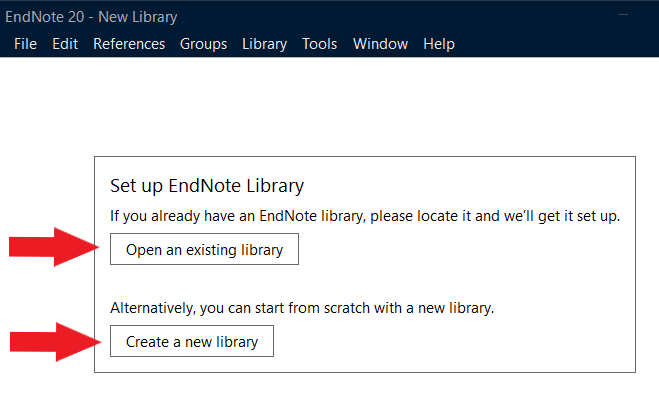
Now this image appears:
-
Experienced users can find their permanent library by selecting "Open an existing library". The library will be converted to the new version. Remember to set up sync to Endnote online so that the library continues to sync to backup.
-
New EndNote users must select Create new library.
- Give your library a personal name.
EndNote suggests pr. default MyEndnoteLibrary.enl.
- Change this to something personal, eg. YourName.enl.
- Save your library locally on your computer in Documents.
- You can choose to create a subfolder in Documents called e.g. EndNote-stuff, where you save the library.
- Find Documents (1), create the subfolder (2). Give your library a personal name (2), Gem (3).
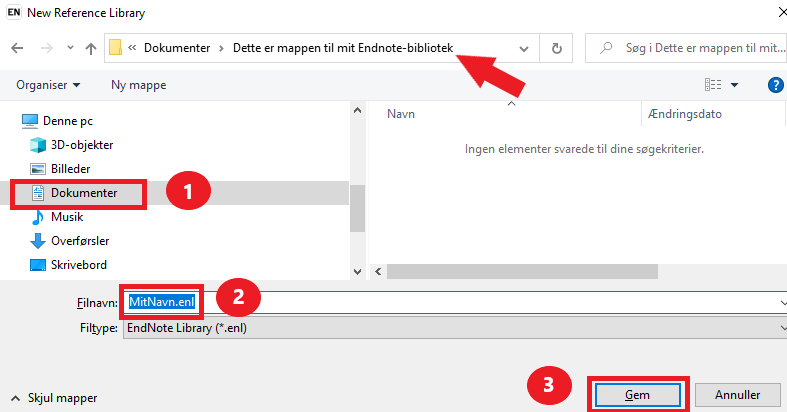
- IMPORTANT!
The EndNote library must be stored locally on your computer in the folder Documents or a subfolder in Documents.- DON'T save the library in cloudbased or shared system services such as Dropbox, OneDrive or iCloud, "as it may corrupt over time".
- The EndNote library opens, when you press Save.
- TIP: Maximize the window to begin with, so you get an overview of all features. You can recognize the library name in the left corner.
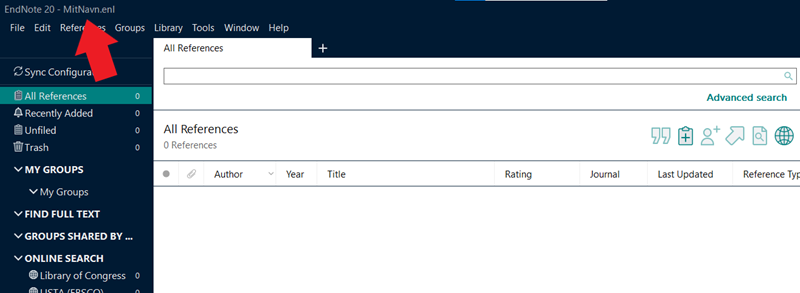
- TIP: Maximize the window to begin with, so you get an overview of all features. You can recognize the library name in the left corner.
- In the future when you open EndNote via the icon in the taskbar, this library will open.